How to set up a 'Connected' session in the app:
- Please note that the session will need to be created ahead of the session starting.
- Open the PlayerData App and press the green plus icon at the bottom of the screen
- Select "New Session''
- Input the information required for the session: ''Session Type and Timings'', Adding in ''Athletes'', then to ''Assign Edge units to Athletes''.
- You will reach the ''Available Gateways'' page. Please select the relevant gateway(s) for the session.
- The session is now created and you will see your session overview screen, which will include a countdown to the session start time.


How to set up the 'Connect' gateway(s):
PlayerData Connected sessions require the use of the PlayerData Connect gateways. Prior to your session you will also need to complete the following steps:
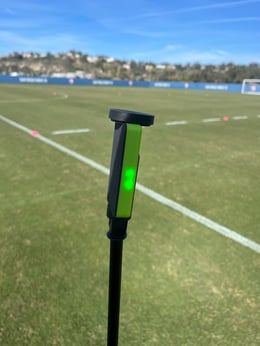
- Turn on the gateway(s) and wait for them to show a breathing green light, this indicates they are connected to the session and network.
- Once connected, place the gateway into the tripod ensuring that the black side is facing outwards and that the green QR code is at the bottom.
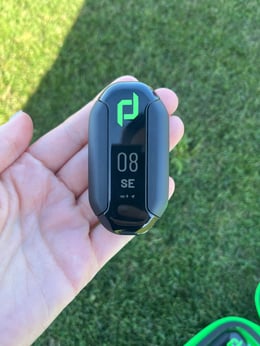
- Finally turn your units on and wait for them to connect to the GPS and live session. Ensure that the units have a breathing green light on the side as well as a lightning bolt at the bottom of the units display to confirm its connection to the session.
- For a detailed light explanation, please see our Gateway Light Guide.